Pages

Thursday 21 January 2021

Gliding Time

 Step one. How to create your very own glider.

Step two.cut out two sheets of paper and place the both together. 
Then tap them so their touching. 

Step three.cut out wear you will be holding. 

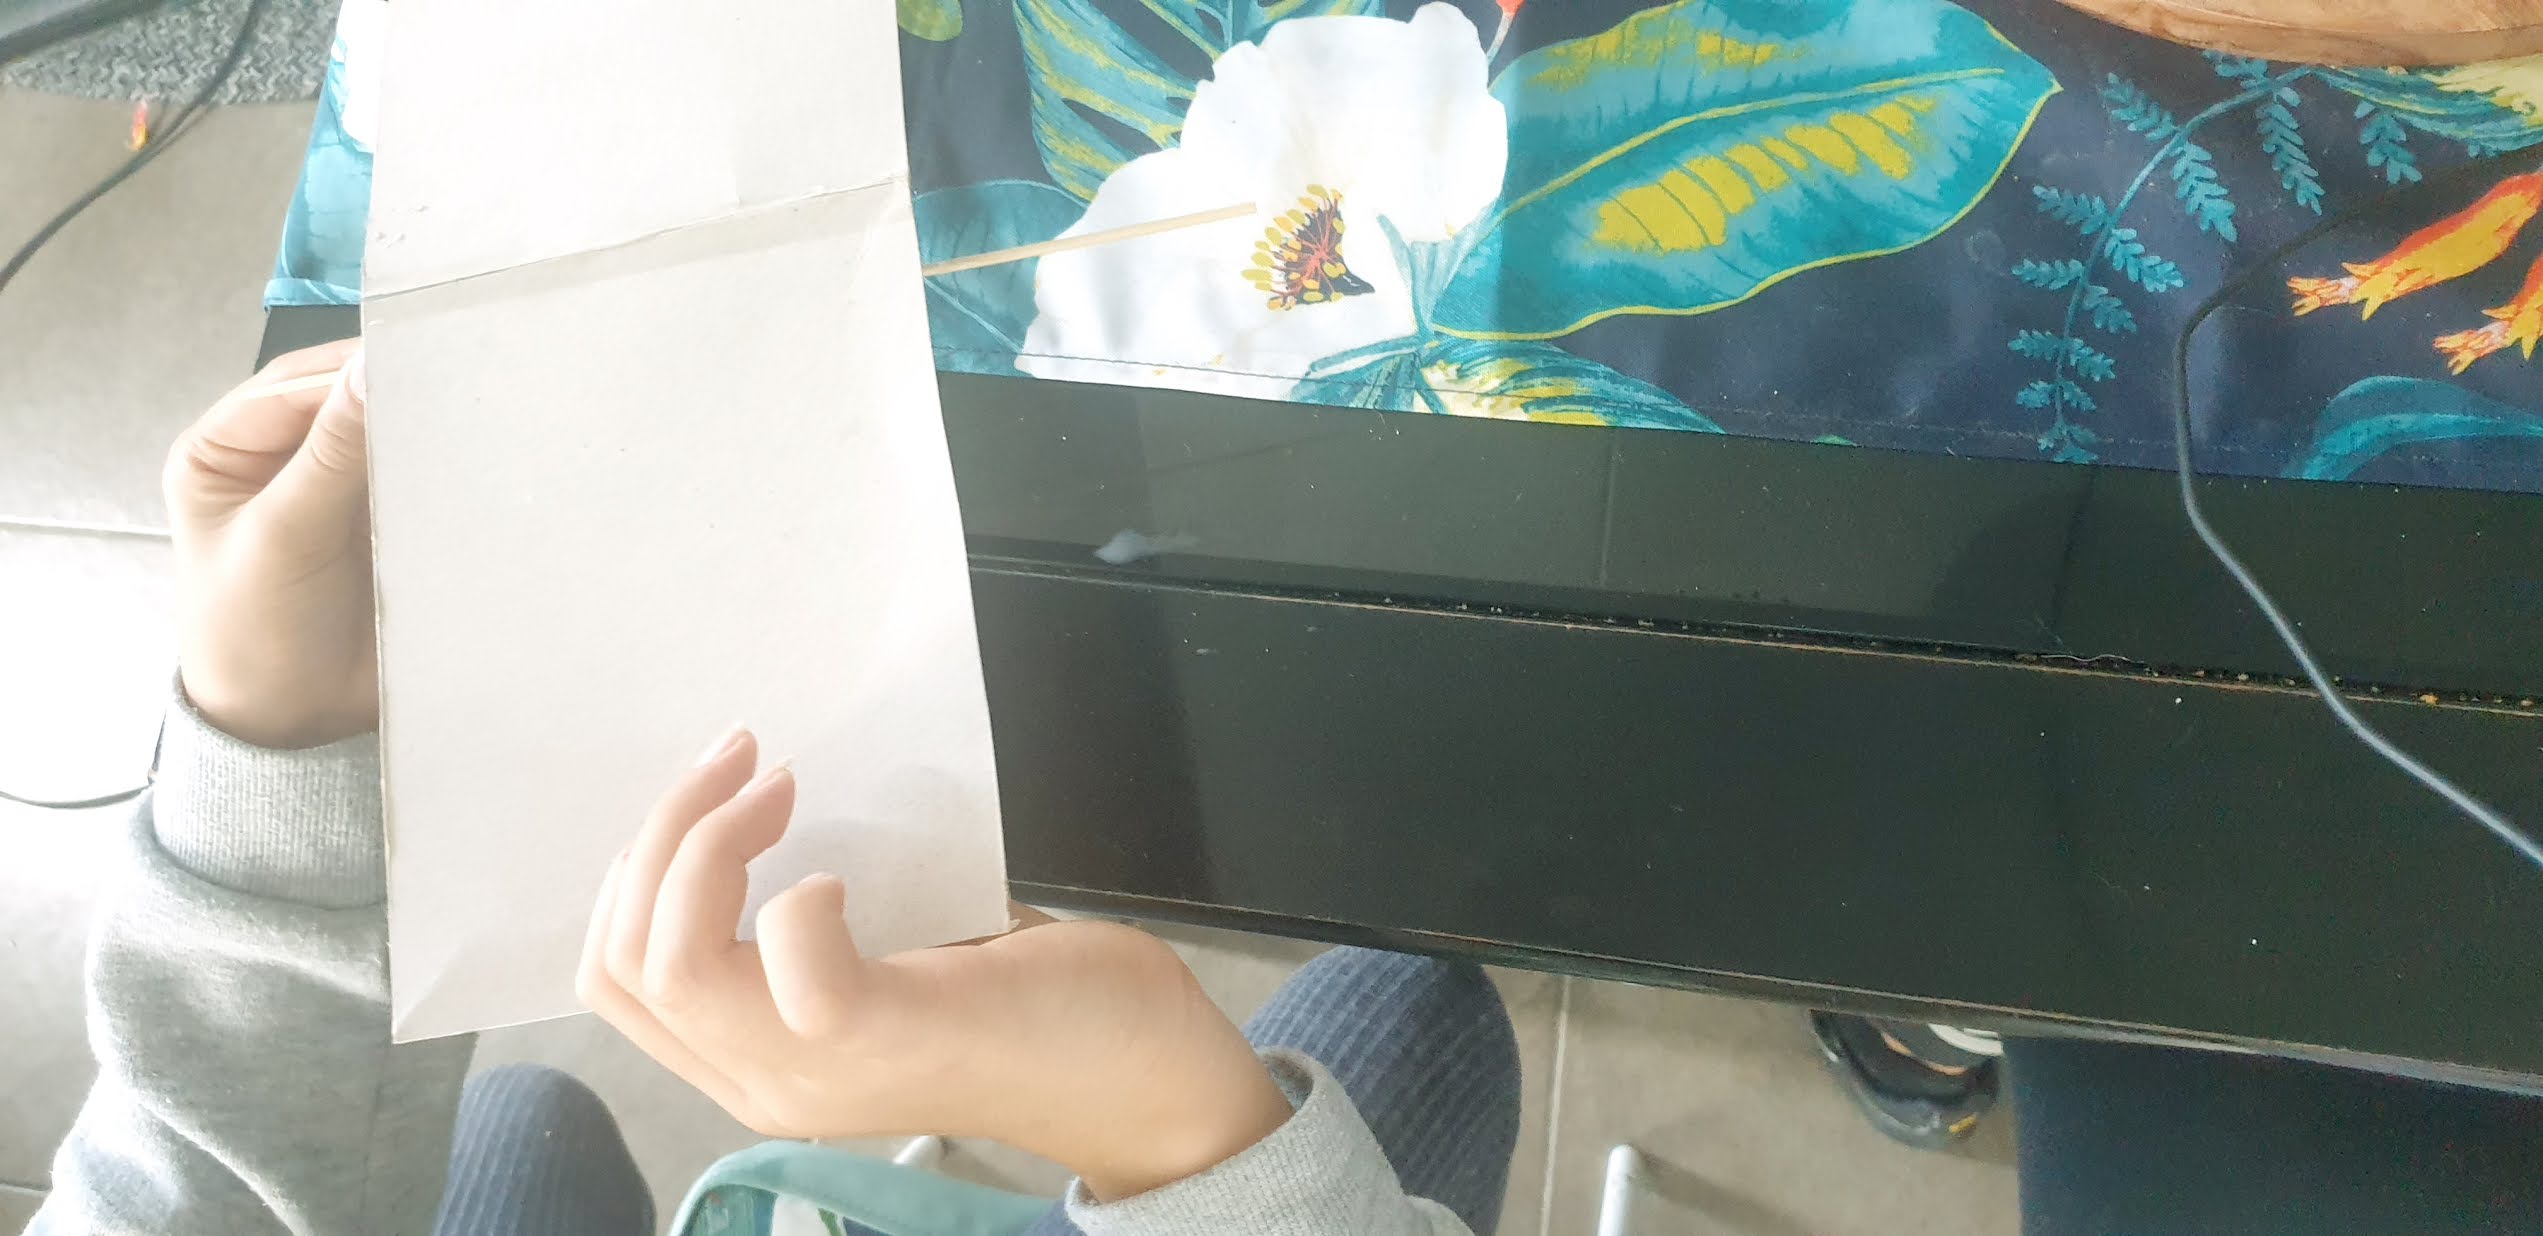
Step four.Glue the edge then skick the kebab stick on side ways.

Step five.Then Glue the other side and place the wings on.


Step six.on the back of the glide add another wing.
Adding another the opposite way.
It will look like this.
Then place a little  screw at the front for weight

The Finish result. 


2 comments:

  1. Tēnā koe Jessie, Fiona here from the Summer Learning Journey team.

    Great work building your very own cool looking glider - ka pai! I really like your step-by-step instructions with individual photos so we can clearly see how you made this and have a go ourselves. This blog must have taken you a while to complete so well done for putting in that extra effort.

    I am so excited to hear how your glider went when you flew it! Were you able to keep it in the air? If it didn’t fly, that’s okay! What design features do you think worked really well and what might you change next time?

    I hope you enjoyed this activity. As we are now coming to the end of the Summer Learning Journey I would love to know which SLJ activities have been your favourite?

    Keep up the fantastic mahi.

    Mā te wā,
    Fiona (SLJ).

    ReplyDelete
    Replies
    1. Kia Ora Fiona Rua from the Slj team.

      Thank you for commenting on my blog I appreciate it. My favourite activities were probably all of them.

      Delete

Note: only a member of this blog may post a comment.